Direct Onboarding
Direct onboarding allows an organisation to join a Trusted List by submitting an application form and a Certificate Signing Request (CSR) through the IDunion web console. The Trusted List Owner reviews the submission and approves or rejects it. No Verifiable Credential wallet is required from the applicant. This onboarding guide is scoped for a test environment. Onboarding for a production environment may differ.
Prerequisites
- An active account on the IDunion web console
- Your organisation's legal details (at least organization name)
- For Wallet Provider trust lists: the name and URL of your wallet solution
- A CSR file (
.pemor.csr). If you do not have one, follow Step 0 below to generate one.
Step-by-step guide
0. Generate a Certificate Signing Request (CSR)
Skip this step if you already have a CSR file.
A CSR cryptographically binds your organisation's identity to a public key. It is used to issue the X.509 certificate that will anchor your entry in the Trust List. You will upload this file in Step 5.
The following commands use the openssl command-line tool, available on Linux, macOS, and Windows (via WSL or Git Bash).
Step 0.1 — Generate a private key
openssl genpkey -algorithm EC -pkeyopt ec_paramgen_curve:P-256 -out private.key
This creates an EC private key using the P-256 curve and saves it to private.key. Keep this file secure and never share it.
Step 0.2 — Generate the CSR
openssl req -new -key private.key -out request.csr \
  -subj "/C=DE/ST=Berlin/L=Berlin/O=Your Organisation Name/CN=your.domain.example"
Replace the -subj fields with your organisation's details:
| Field | Description | Example |
|---|---|---|
C | ISO 3166 two-letter country code | DE |
ST | State or region | Berlin |
L | City or locality | Berlin |
O | Full legal name of your organisation | Example GmbH |
CN | Common name — typically your domain or organisation name | example.com |
The command produces request.csr. You will upload this file in Step 5.
Step 0.3 — Verify the CSR (optional)
Inspect the contents of the generated CSR before uploading:
openssl req -text -noout -verify -in request.csr
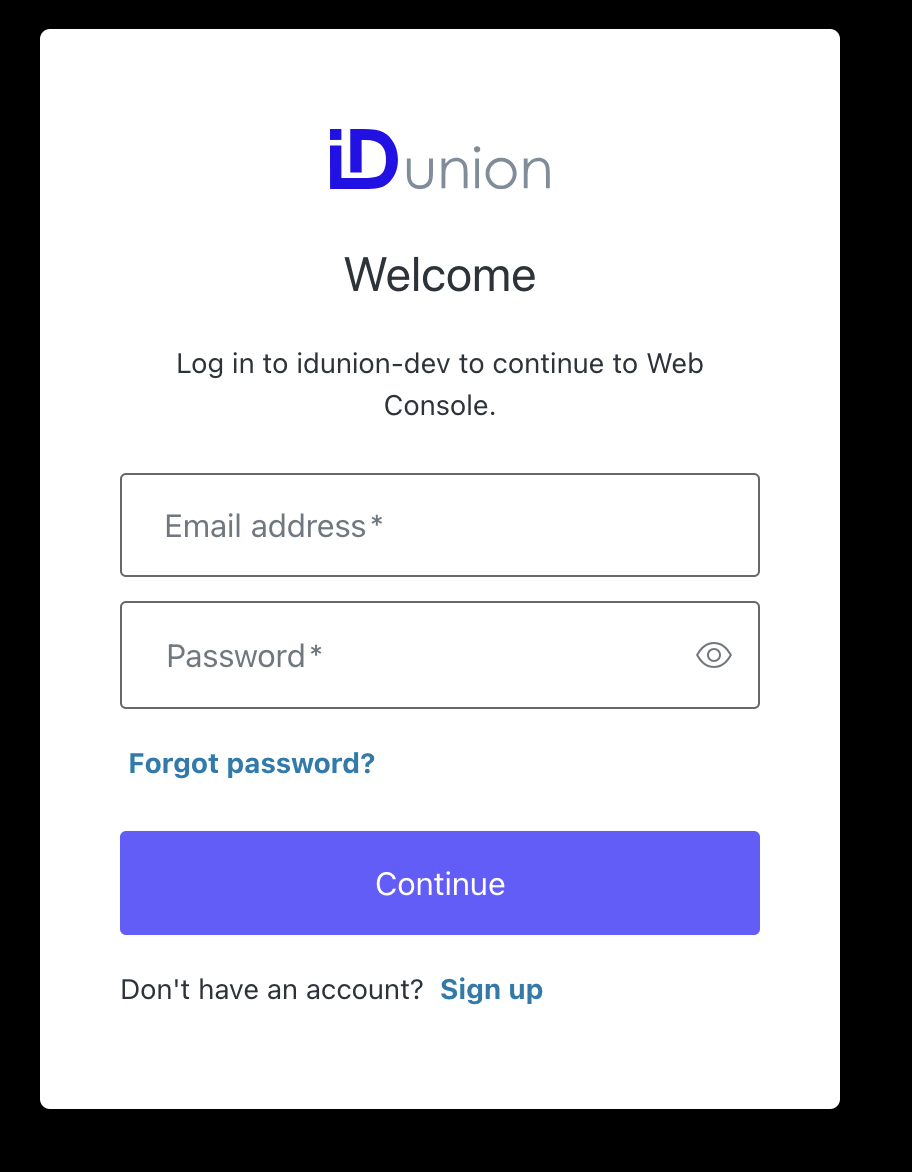
1. Log in
Open the IDunion web console and log in with your account credentials.
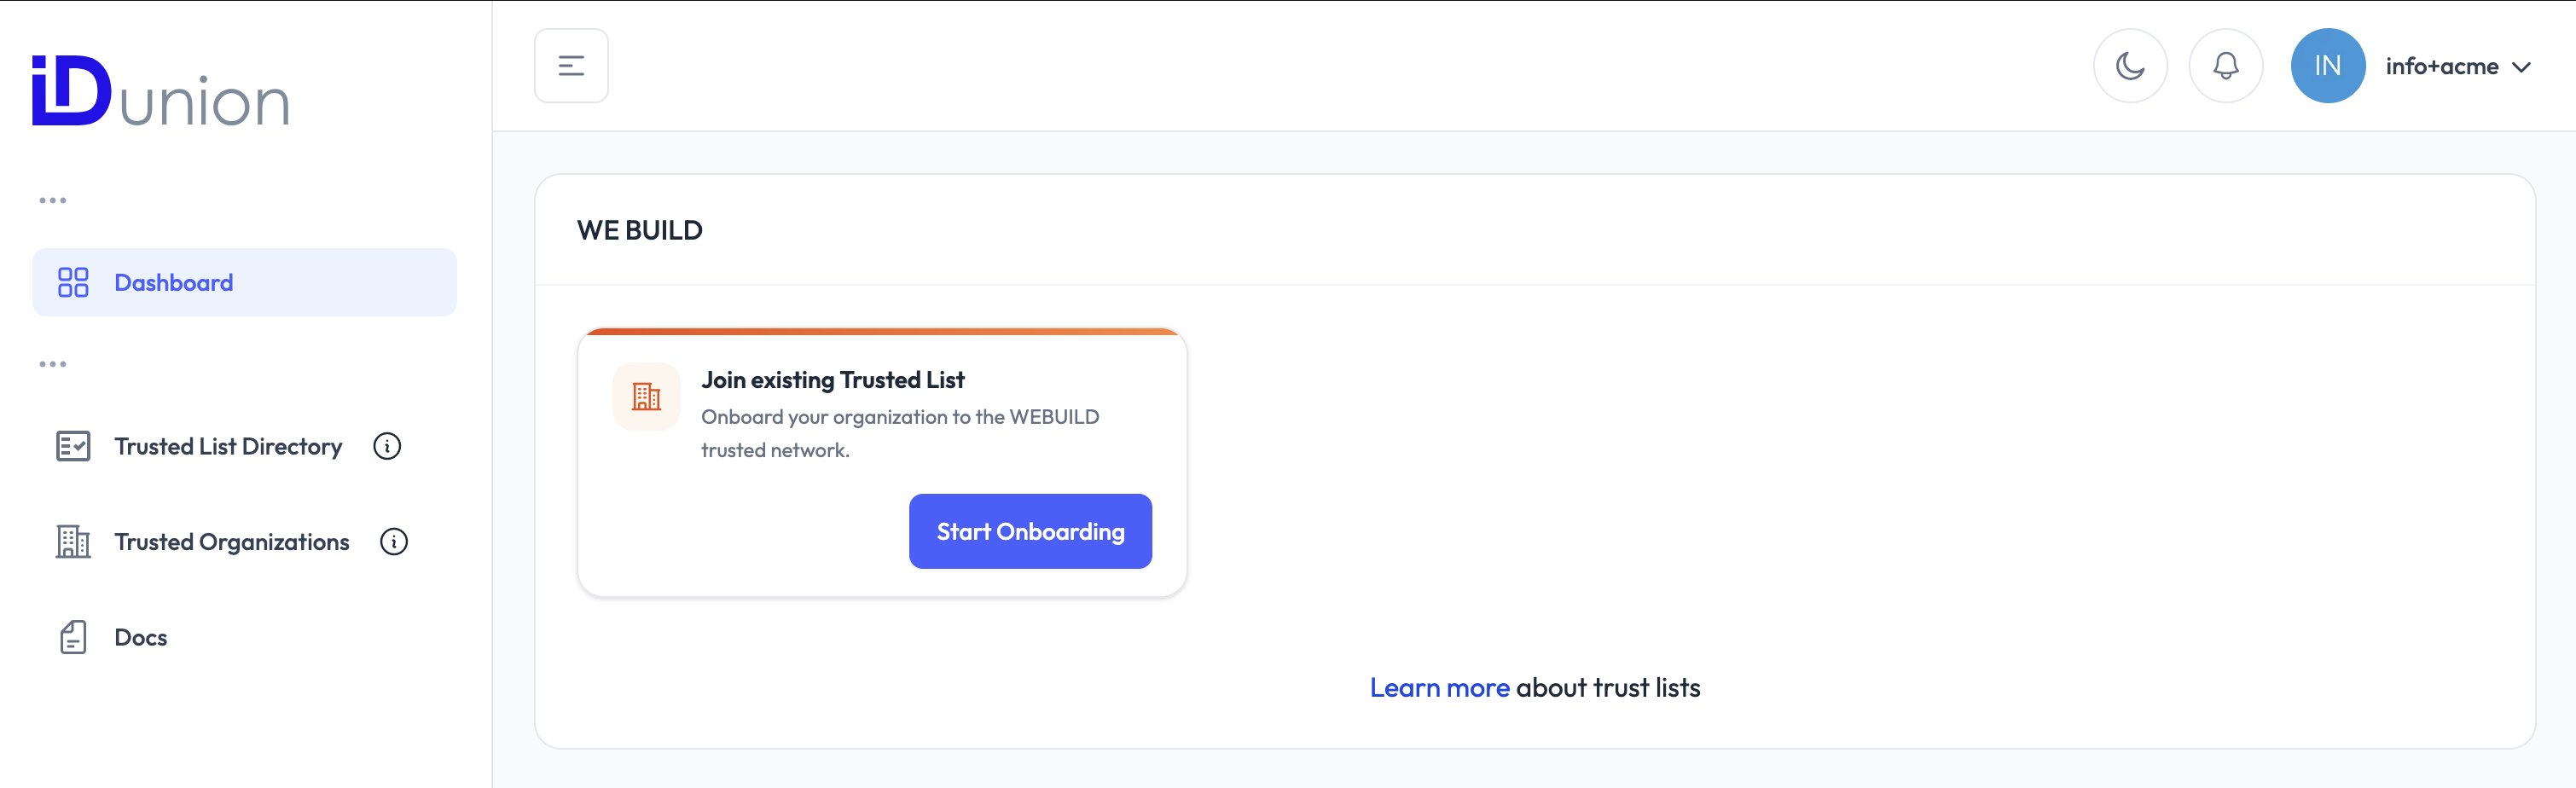
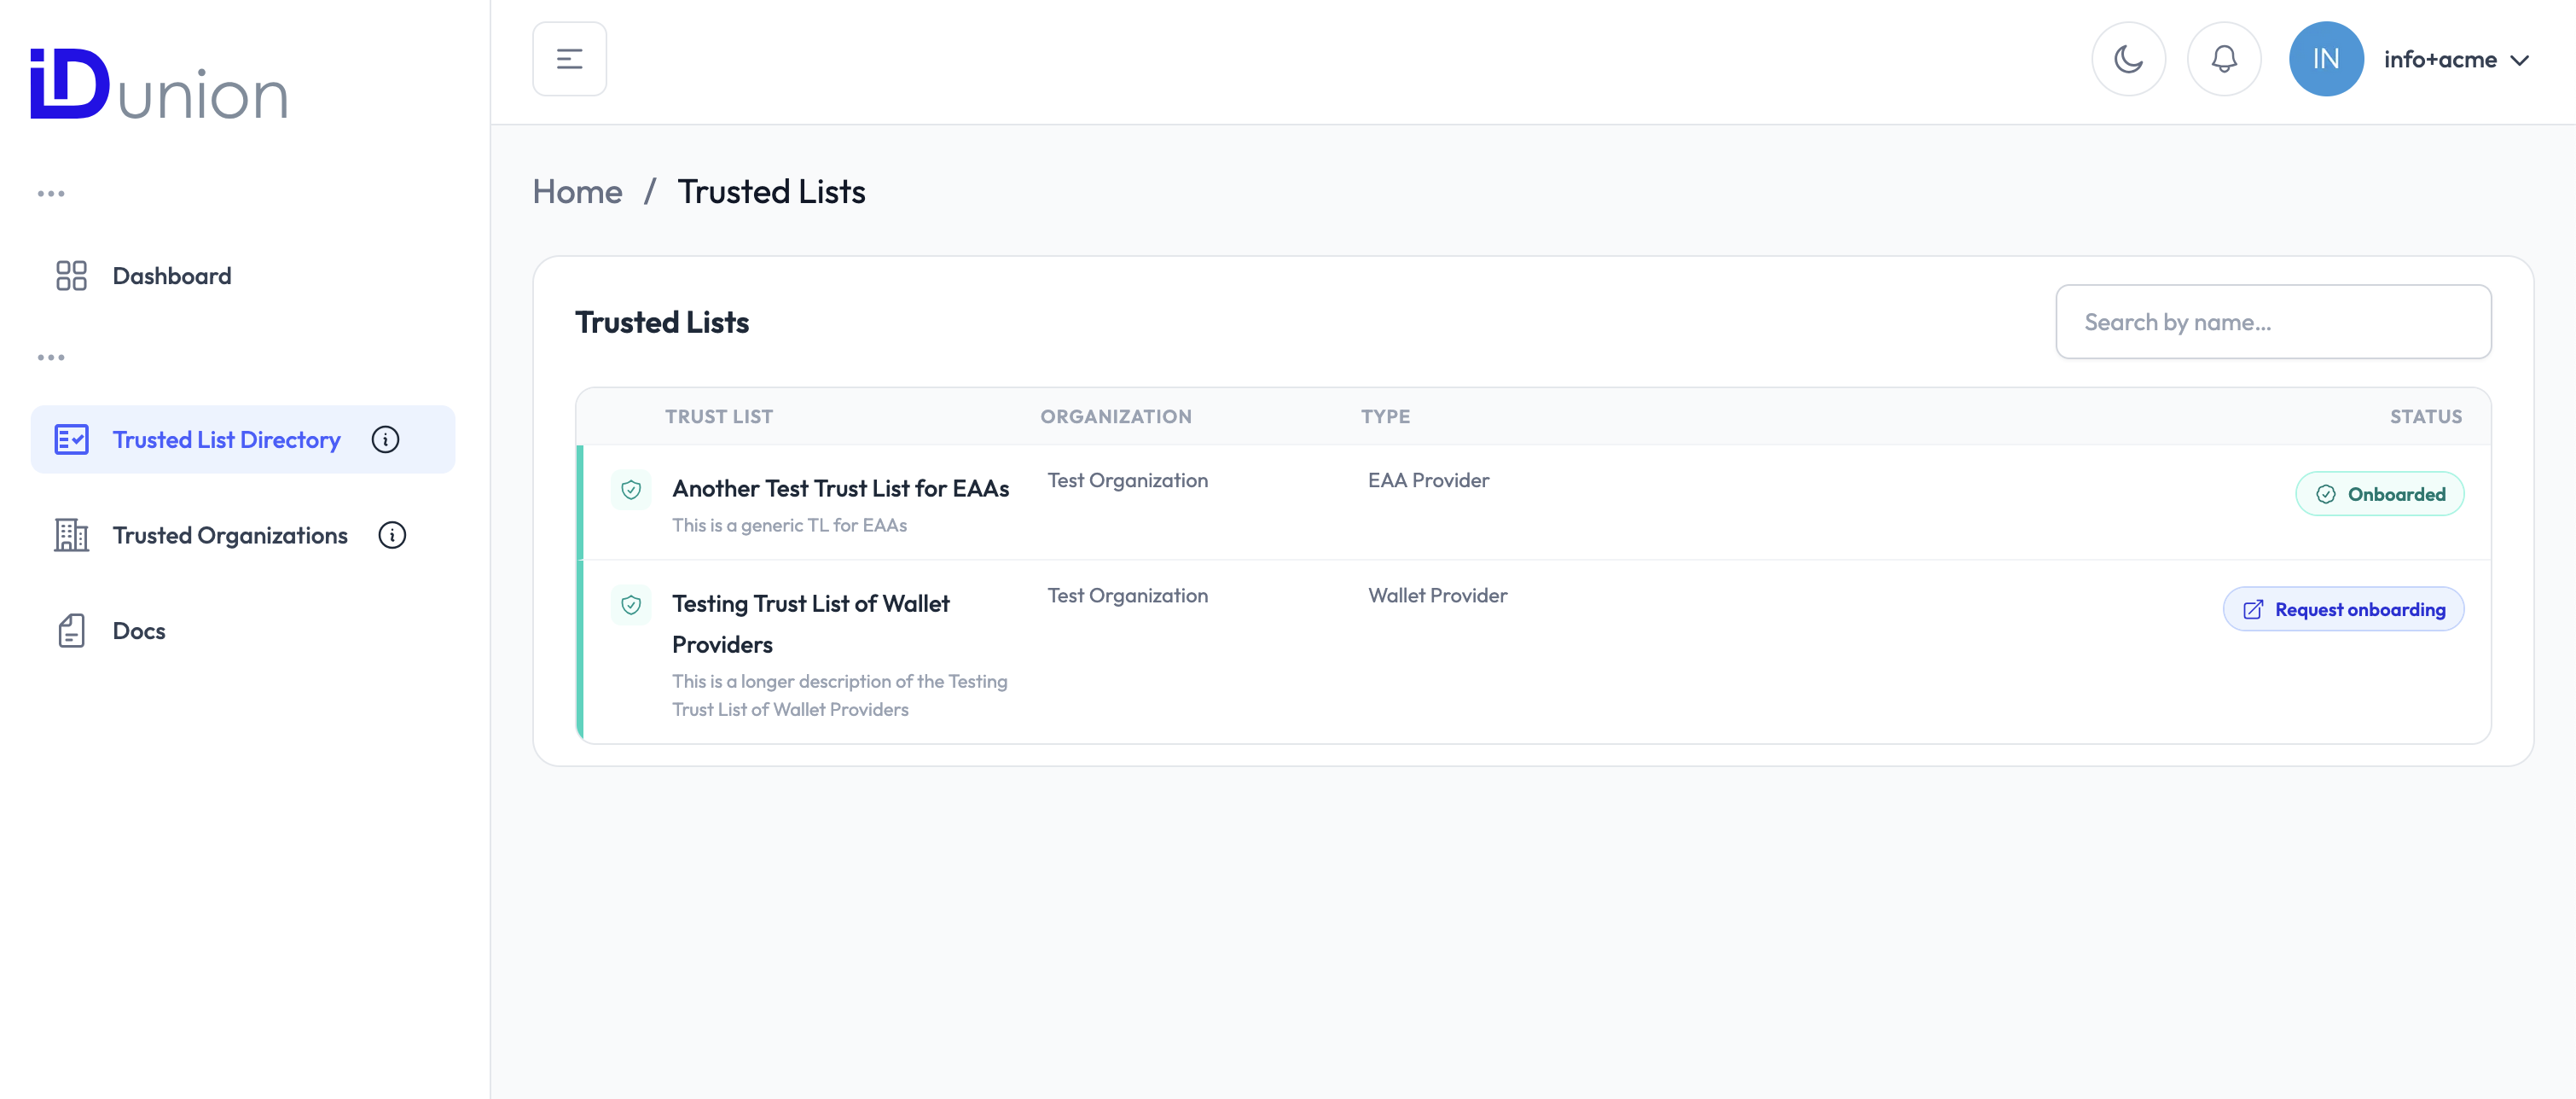
2. Open the Trust List directory
From the dashboard, navigate to the Trusted List Directory. This lists all publicly available Trust Lists you can apply to join.
3. Select a Trusted List
Find the Trusted List you want to join and click on it to open its detail page. Review the Trusted List's name, type, and description to confirm it is the right one for your organisation.
4. Start the onboarding request
On the Trusted List detail page, click "Request Onboarding". This opens the application form.
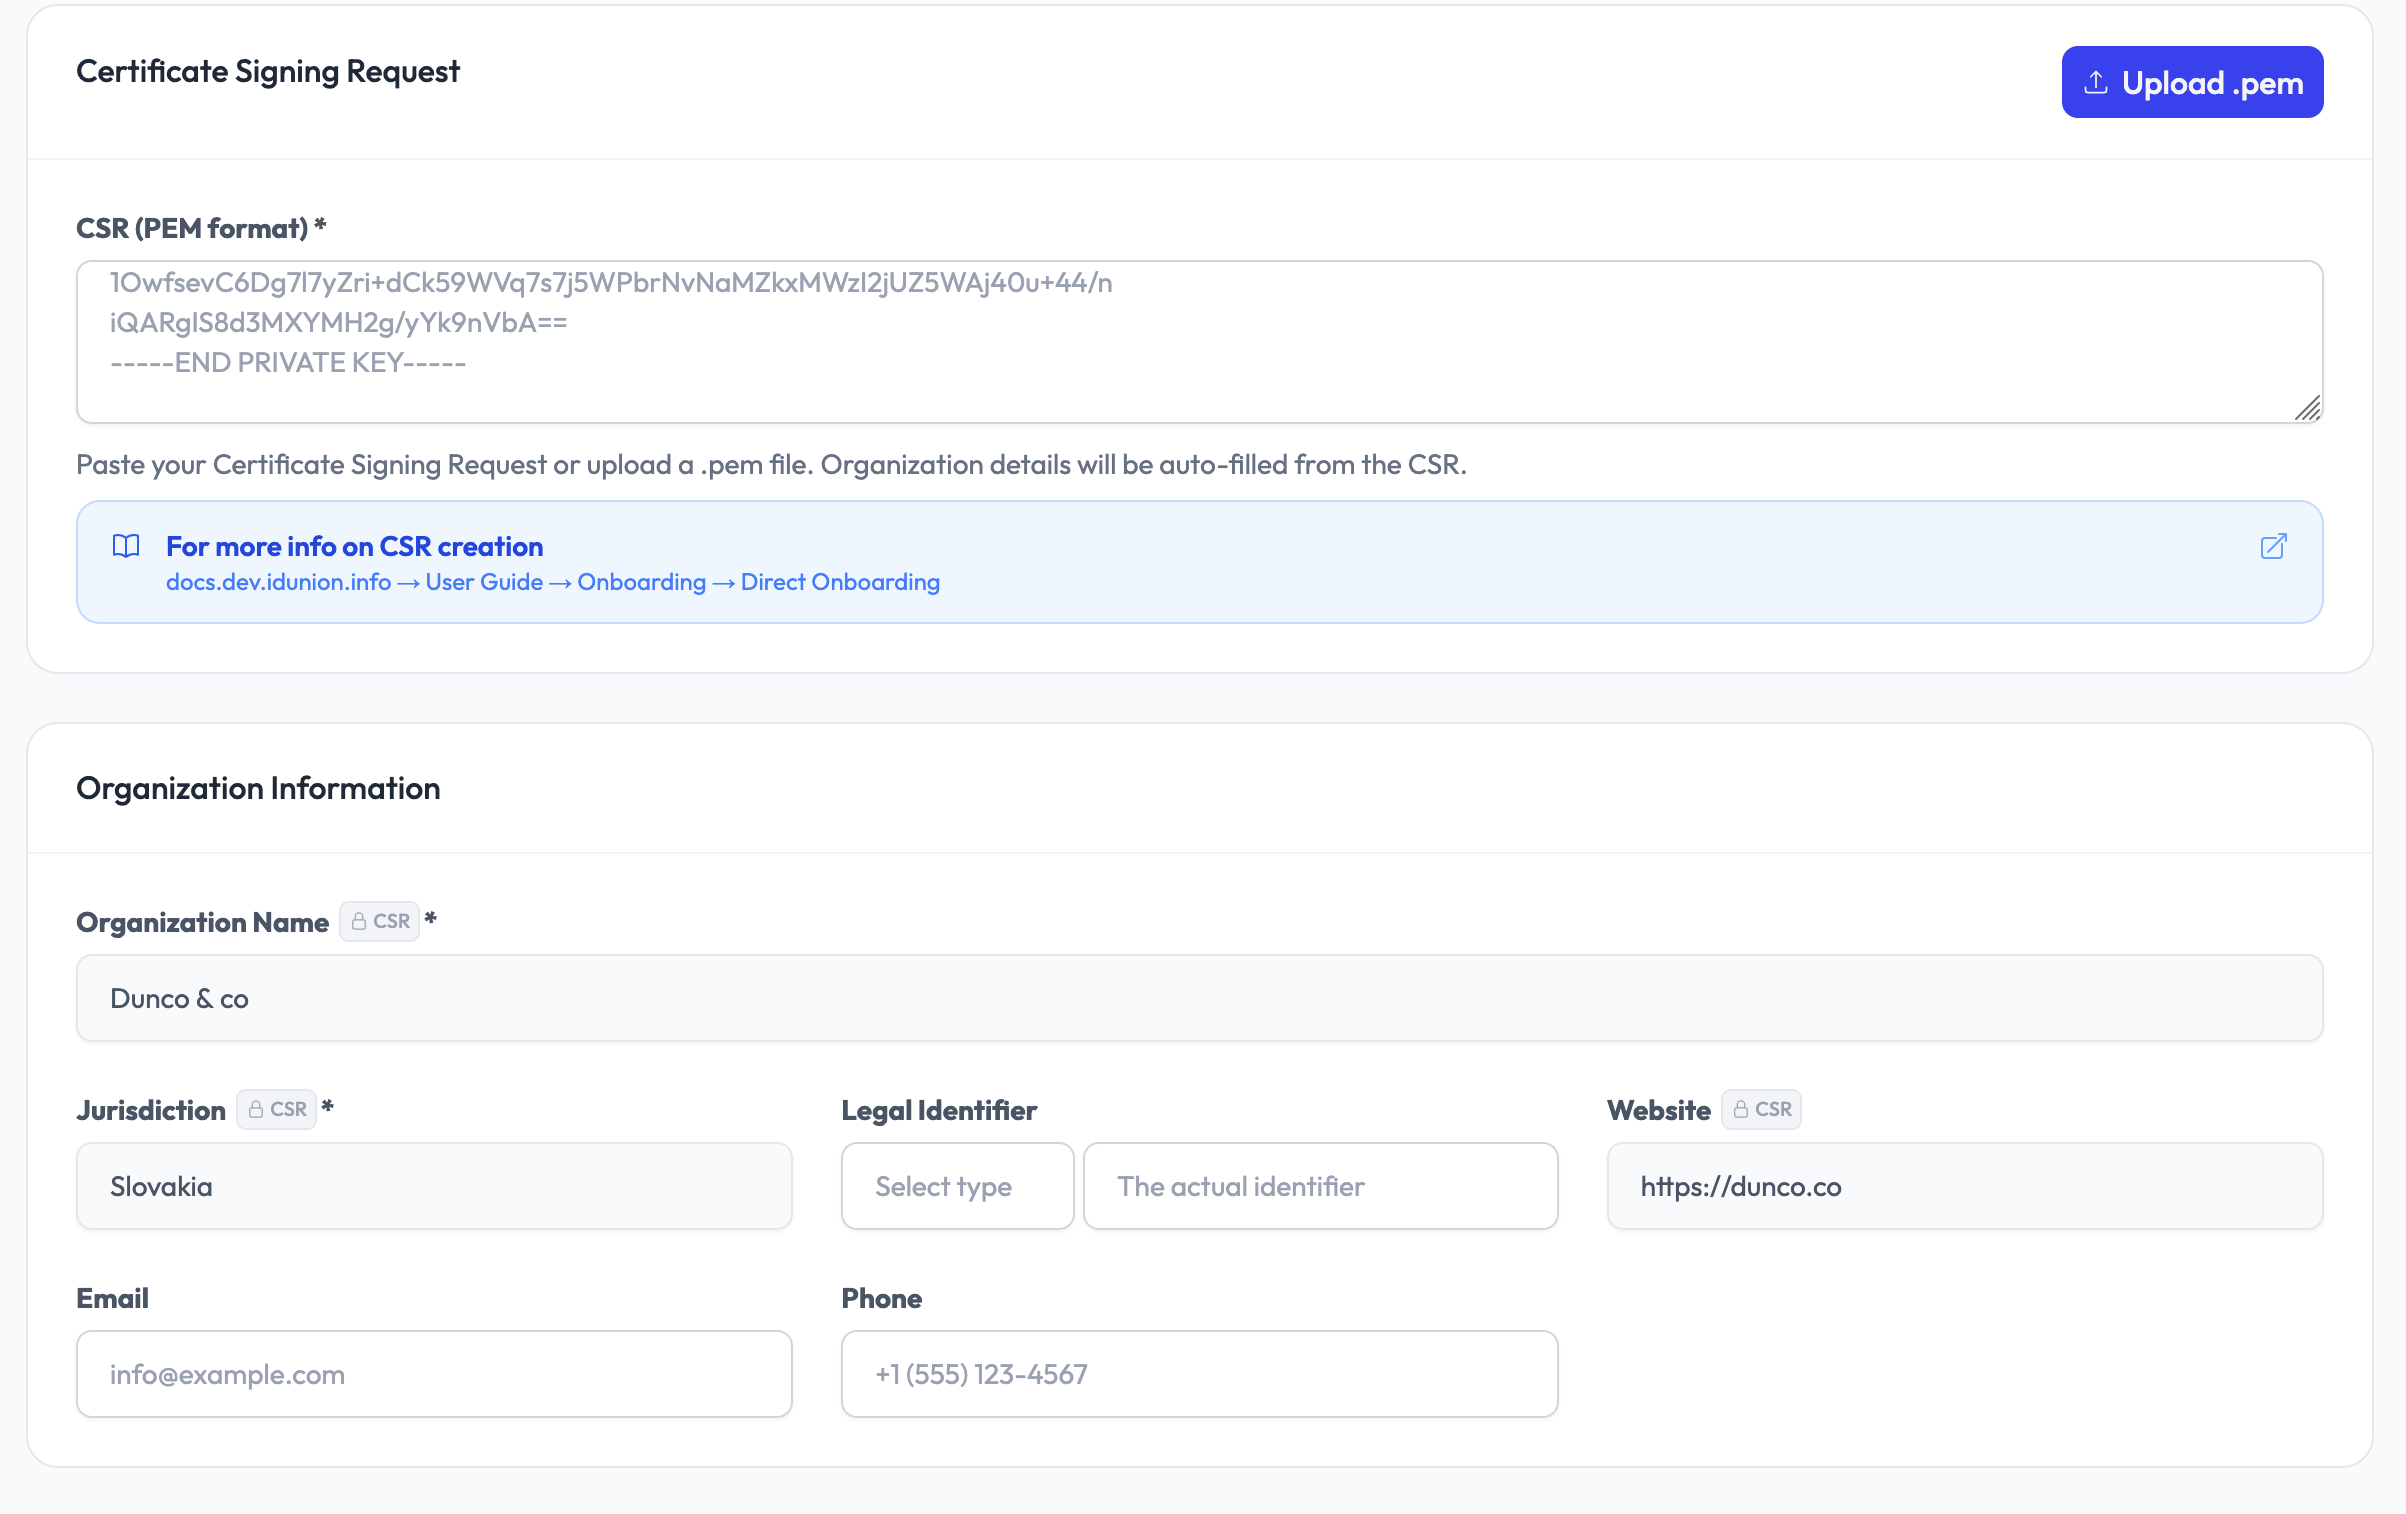
5. Upload the Certificate Signing Request (CSR)
Click "Upload CSR" and select your .pem or .csr file generated in Step 0. Your private key never leaves your infrastructure.
For HSM integration options see Key Management.

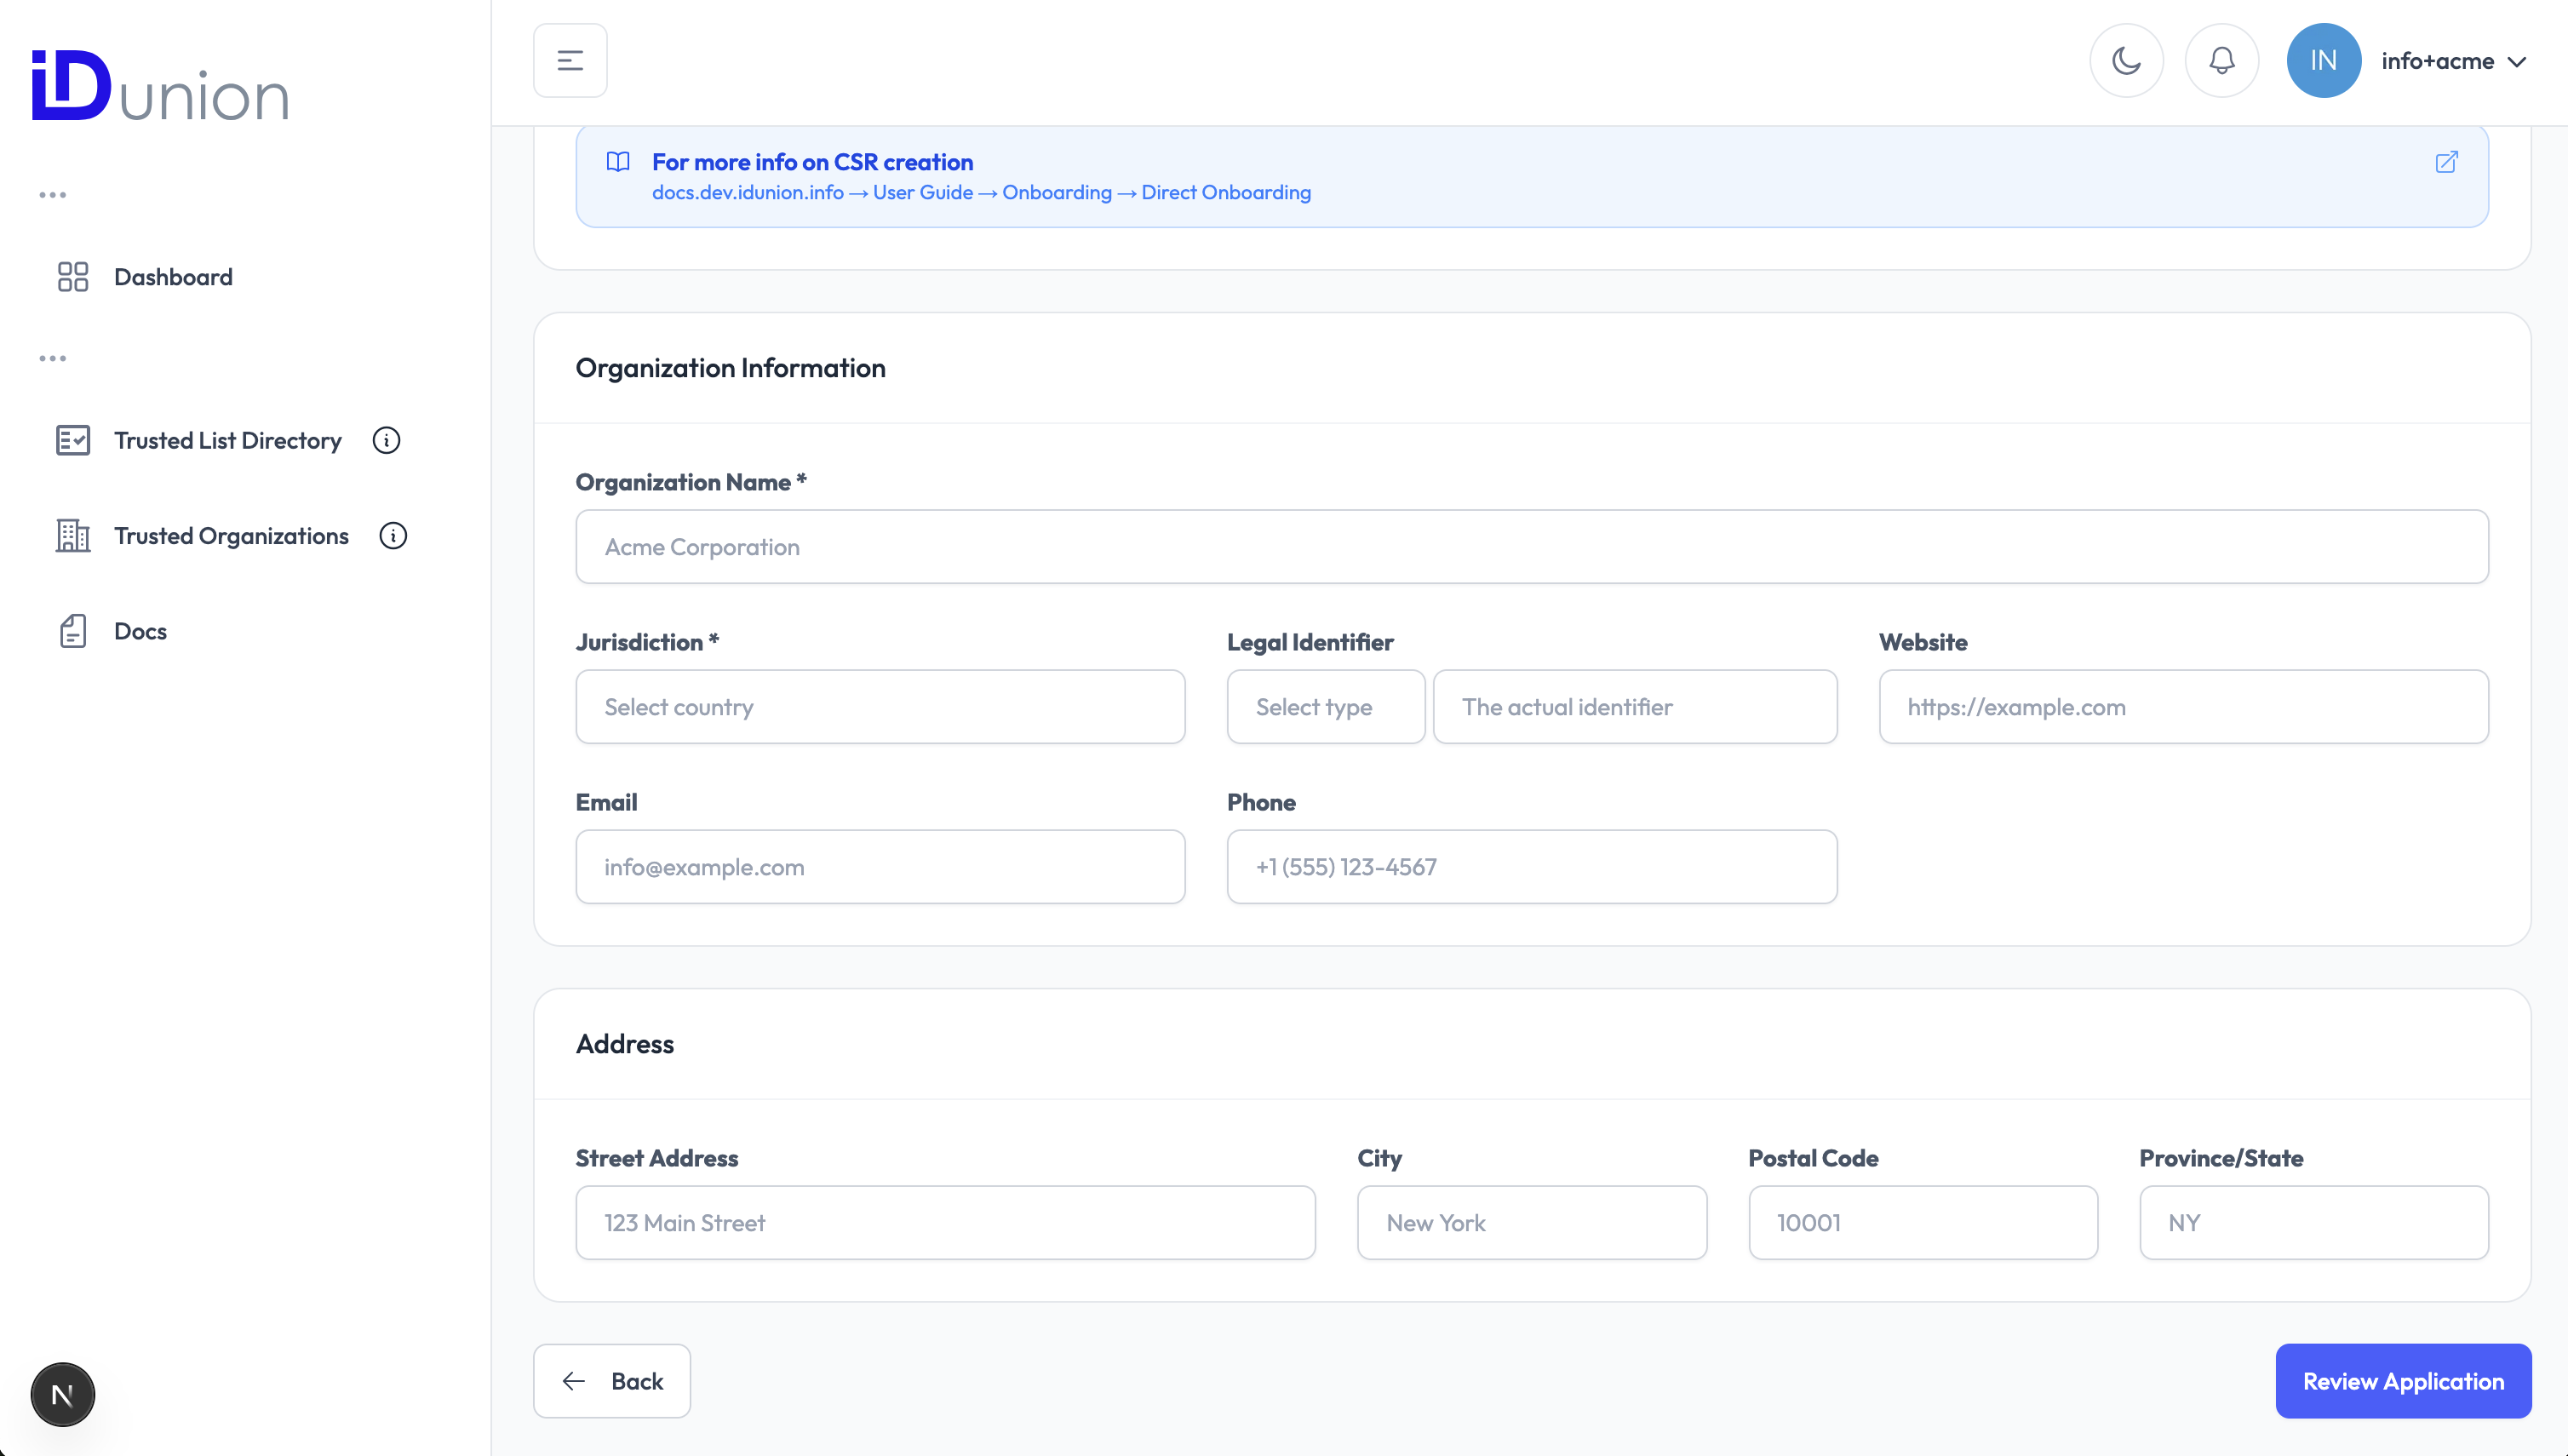
6. Fill in organisation details
Complete the fields in the application form. Required fields are marked accordingly.
| Field | Description |
|---|---|
| Organisation Name | Full legal name of your organisation |
| Trade Name | Trading name or brand name (if different from legal name) |
| Street Address | Registered office street address |
| City | City |
| Province/ State | State or region |
| Postal Code | Postal or ZIP code |
| Jurisdiction | Country (ISO 3166 two-letter code, e.g. DE) |
| Official contact email address | |
| Phone | Contact phone number including country code |
| Website | URL of your organisation's website |
| Terms & Conditions | URL of your organisation's Terms & Conditions |
For Wallet Provider trust lists, the following additional fields are displayed:
| Field | Description |
|---|---|
| Wallet Solution Name | Name of the wallet solution you operate |
| Wallet Solution Reference ID | Internal reference or product ID of the wallet solution |
| Wallet Solution URL | URL of the wallet solution's public information page |
6. Upload the Certificate Signing Request (CSR)
Click "Upload CSR" and select your .pem or .csr file generated in Step 0. Your private key never leaves your infrastructure.
For HSM integration options see Key Management.
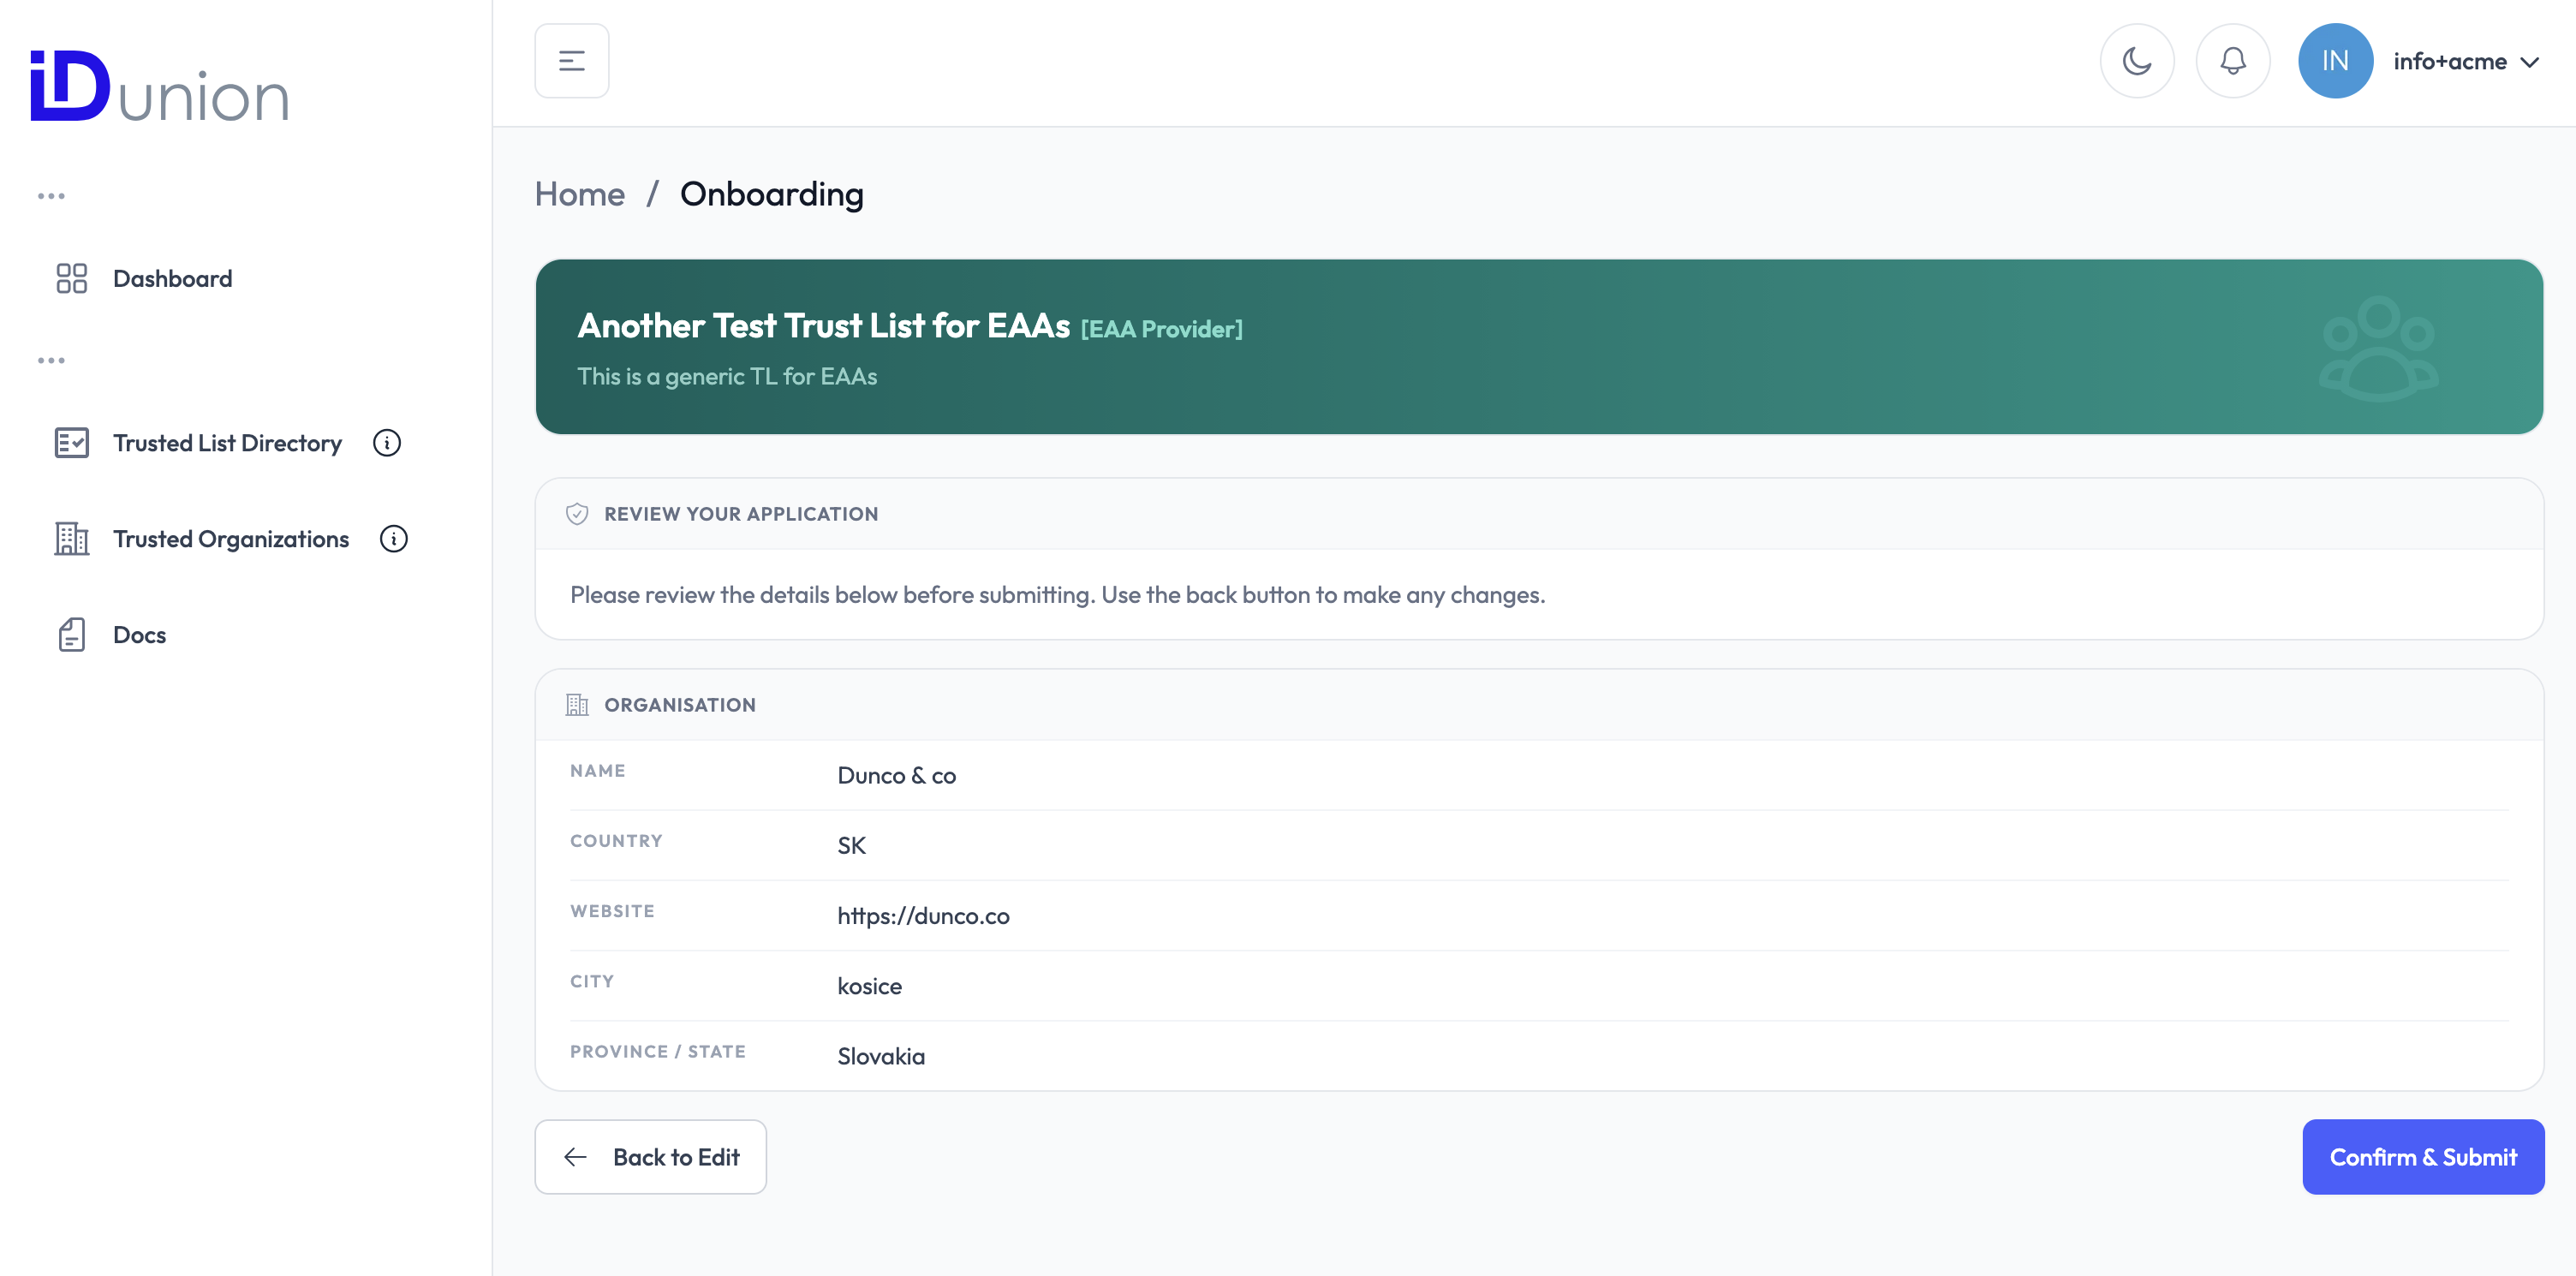
7. Submit the application
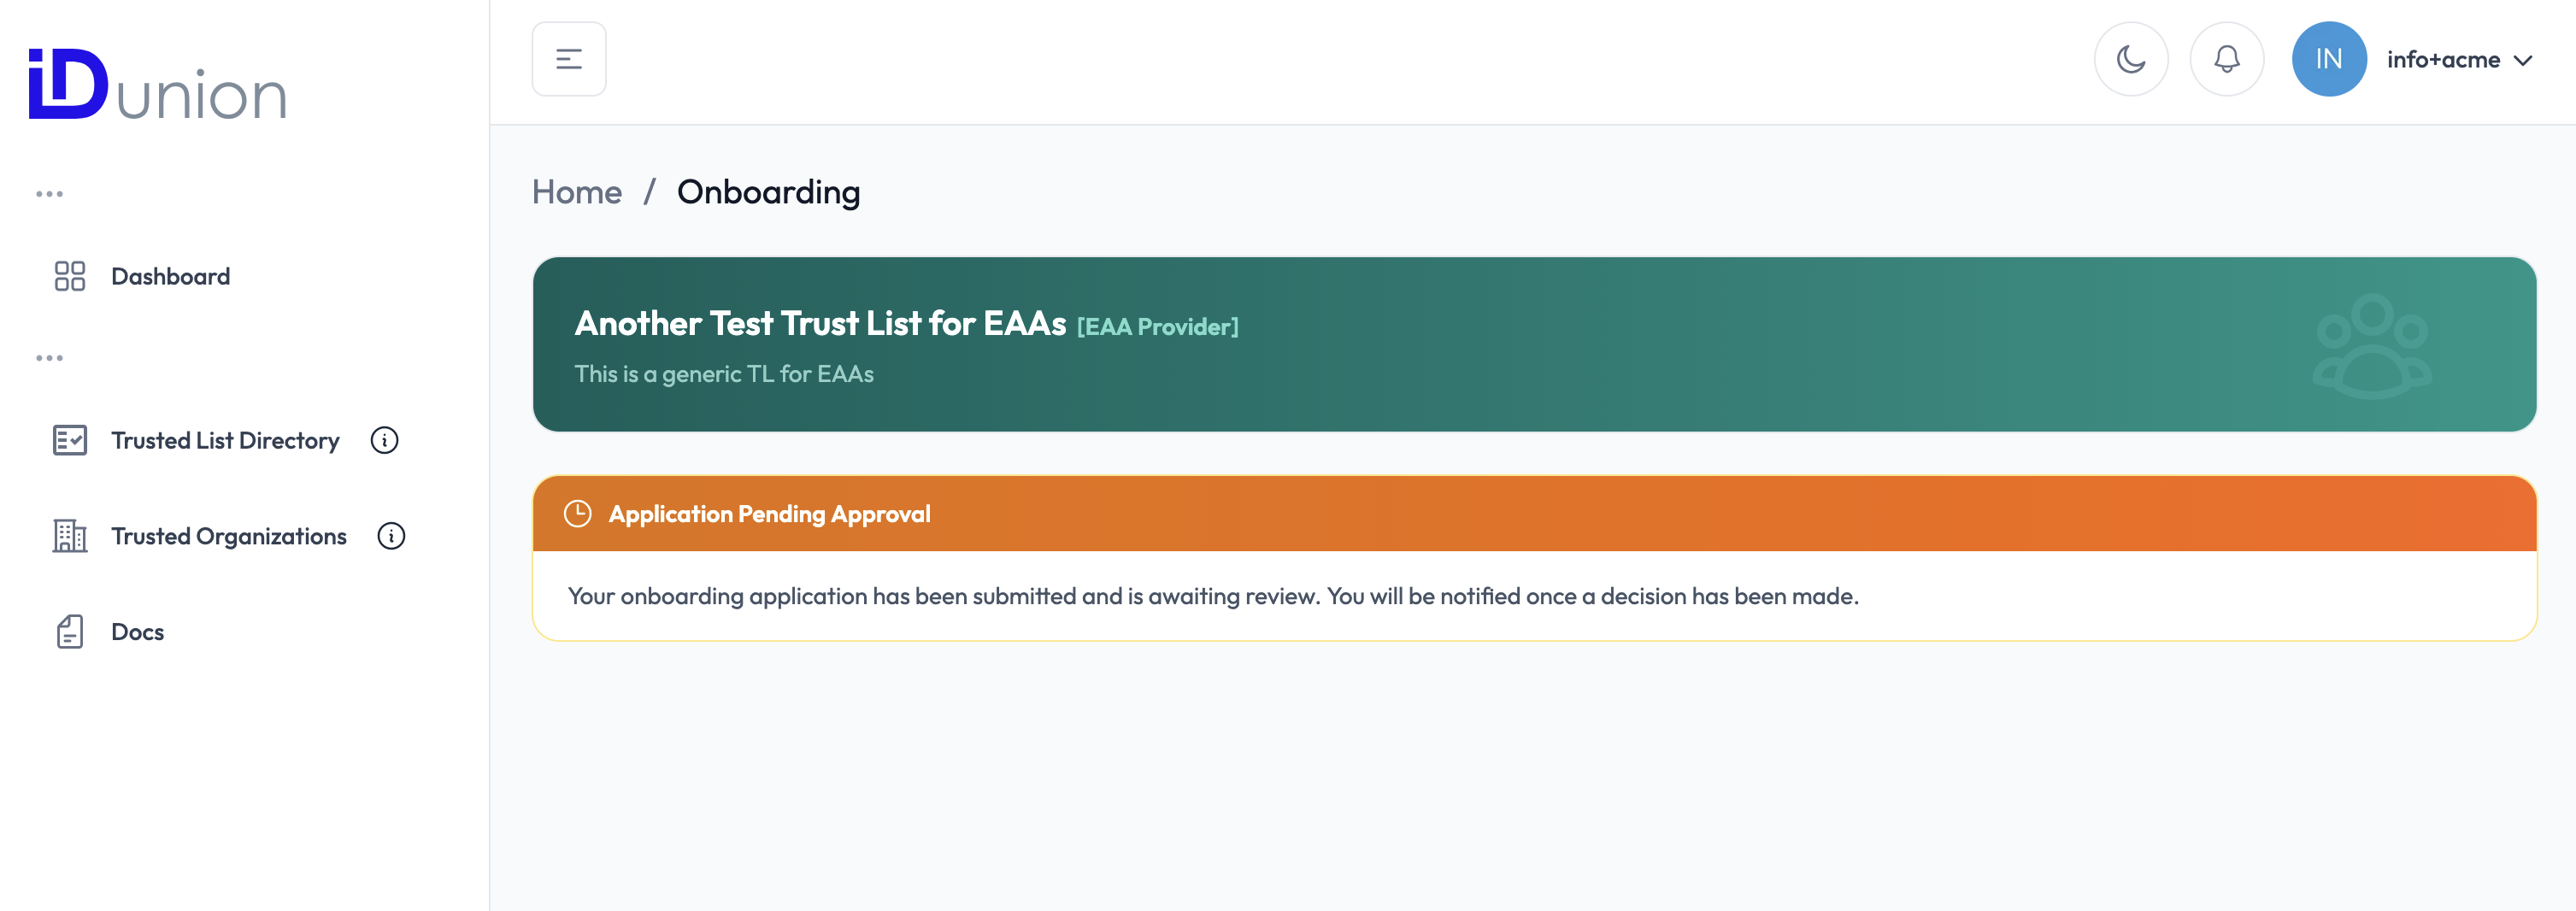
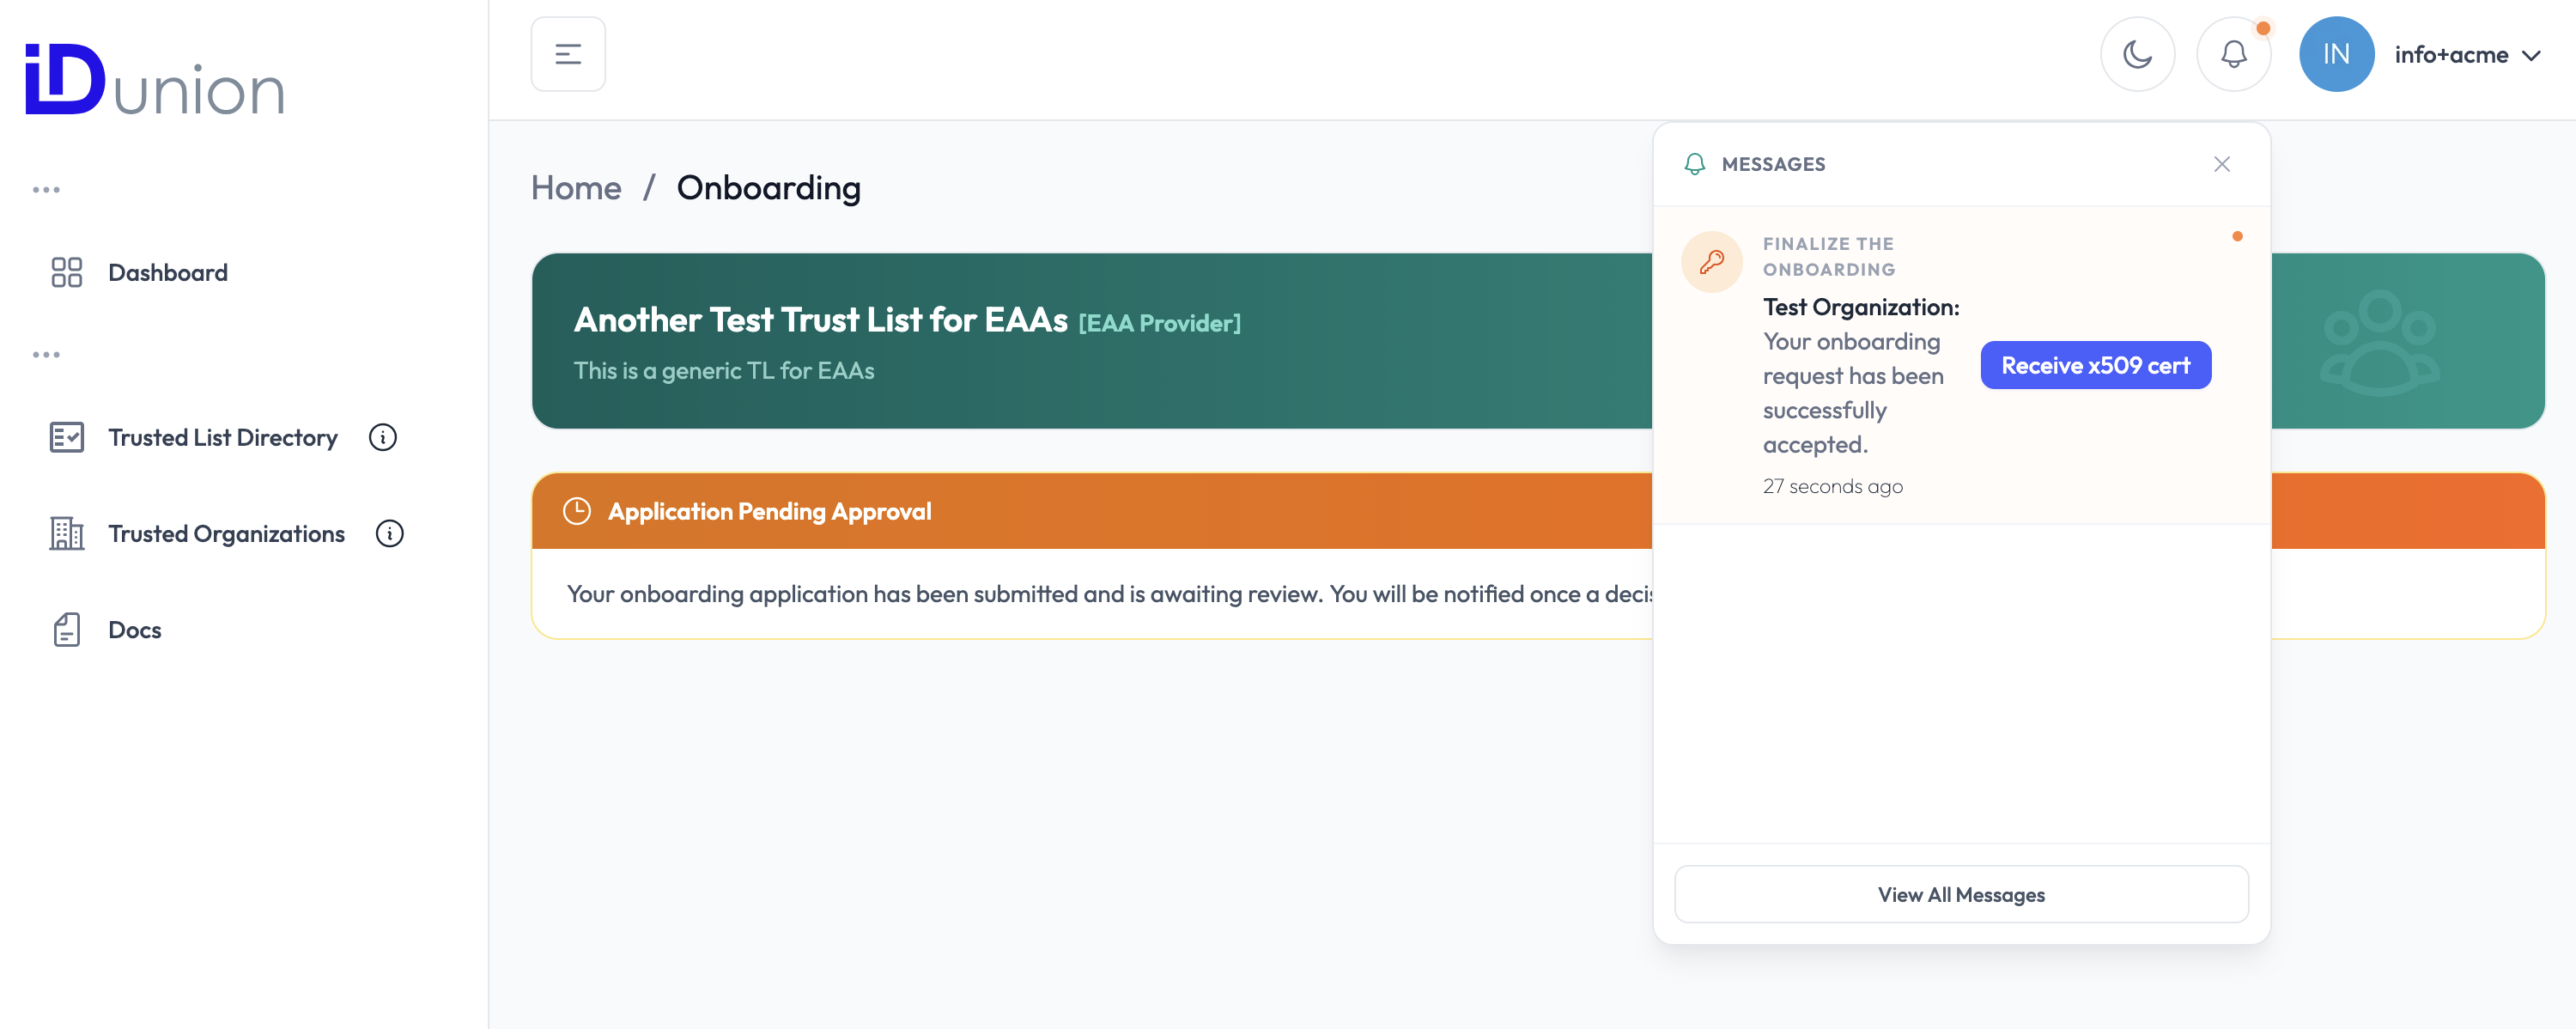
Review all the information you have entered, then click "Submit". The console sends your application to the Trust List Owner for review.
You will see a confirmation message indicating that your request has been received and is pending review.
What happens next
After submission the process moves to the Trust List Owner. You do not need to take any further action at this point.
- The Trust List Owner receives a notification of your request in their dashboard.
- They review your organisation details and CSR.
- They click "Approve" or "Reject".
If approved:
- A Trust List Record (TLR) is created for your organisation.
- A
did:webidentifier and a DID Document are generated and linked to your X.509 certificate. - An ETSI TS 119 602/612 XML for the Trust List is regenerated to include your entry.
- You receive an email notification confirming your successful onboarding.
If rejected:
- You receive an email notification with the reason for rejection.
- You may correct the information and re-submit.
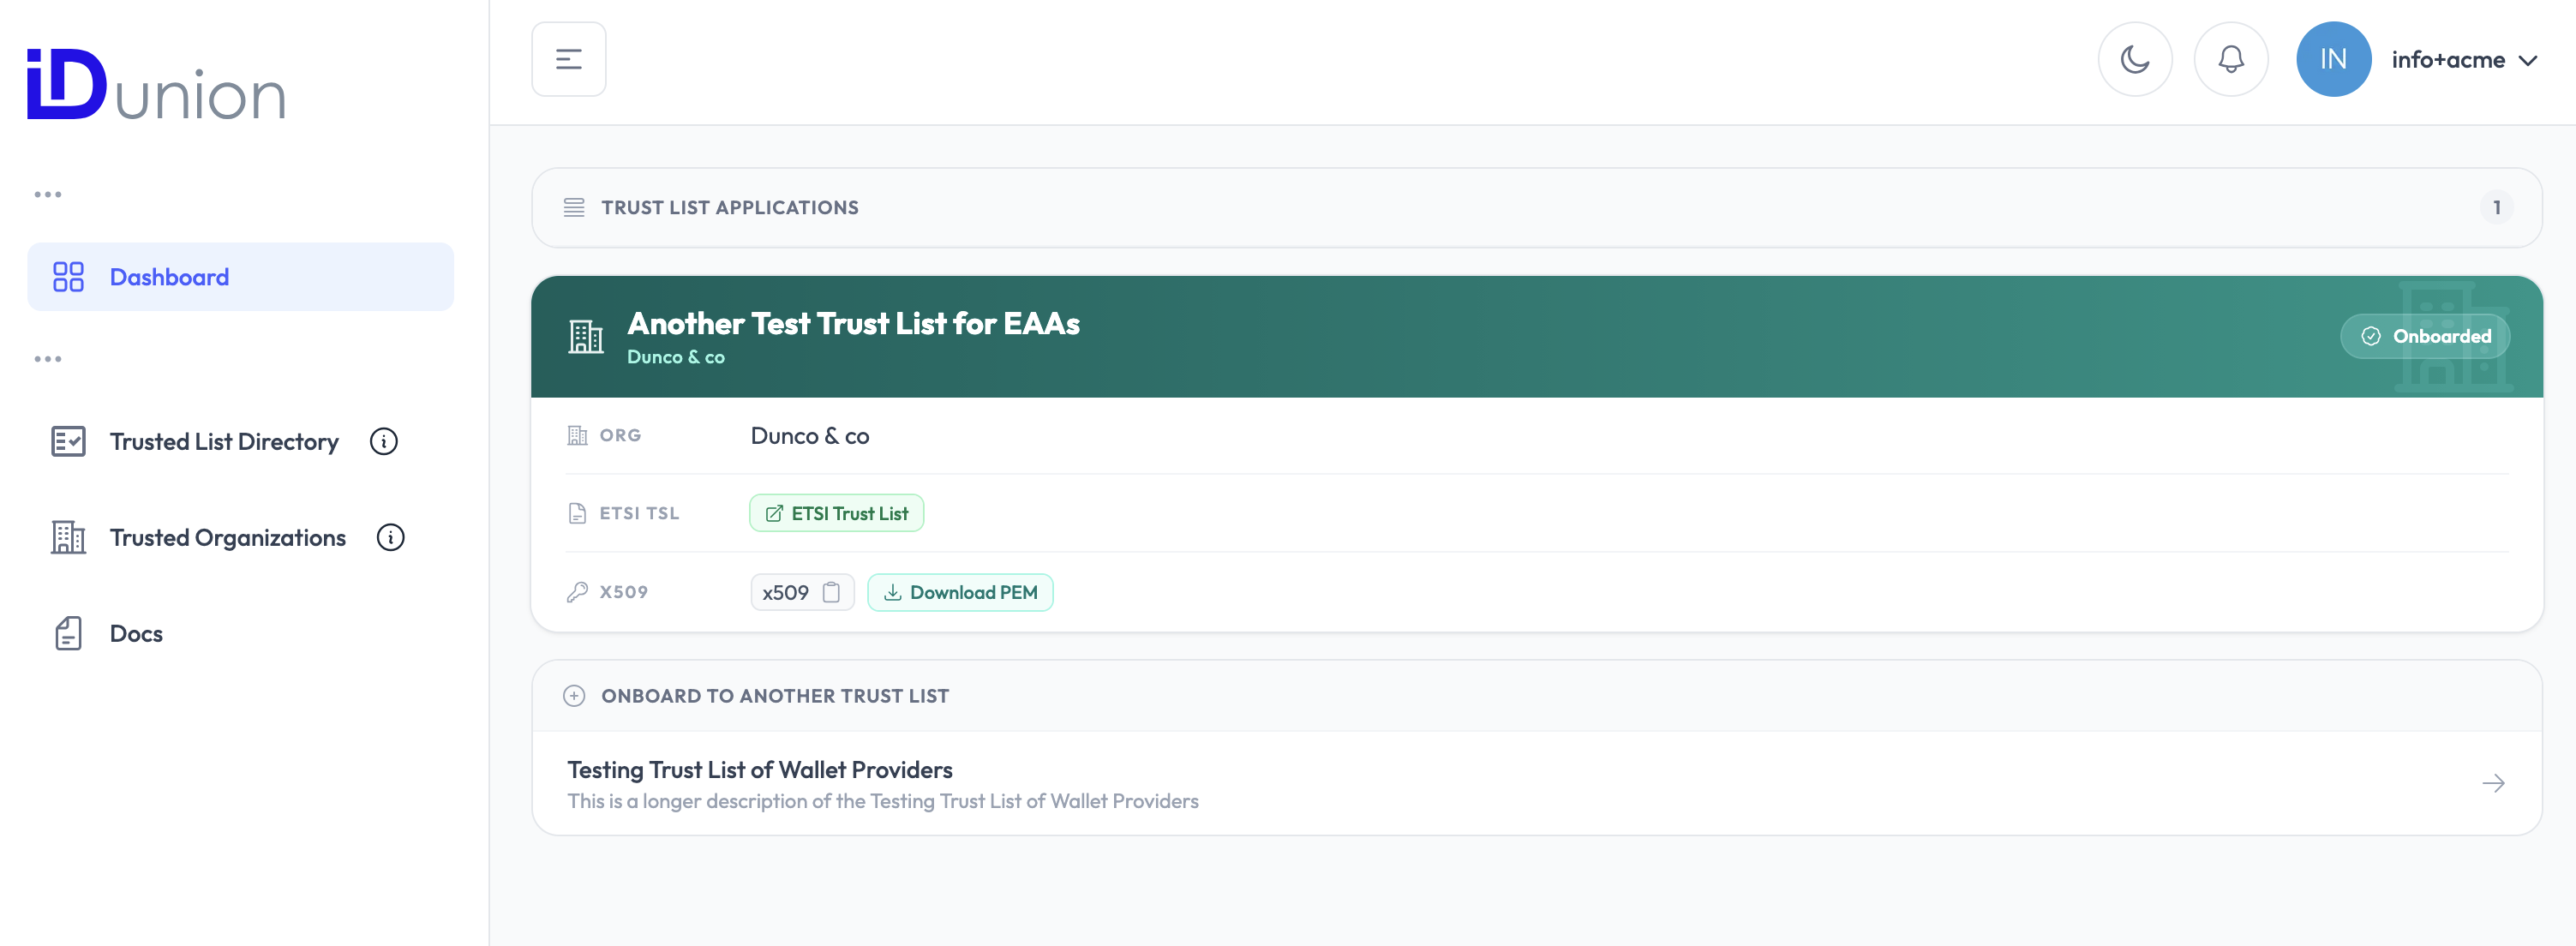
After approval
Once approved, your organisation's did:web identifier is publicly resolvable and your X.509 certificate is listed in the ETSI XML of the Trust List. Verifiers can now confirm your membership on the trusted list automatically by resolving your DID or querying the Trusted List XML.
You can view your Trusted List Record at any time by logging in to the web console and opening the dashboard.